Valet on your iron – Computer Vision with YOLO

Meet Valet, the first R&D project in the Machine Learning domain 🎉
We built it in just 2 weeks, so Machine Learning is not as scary as it might seem!
Technologies: Azure Functions, YOLOv5, React
Repository: Valet
What have you done this time? 🤨
In the previous issue, we already told you about the creation of a cloud-based version of Valet. And the time has come for a self-hosted version of the app based on YOLO. To refresh your memory, Valet is a simple product that can find occupied and free spaces in a parking lot and automate load measurement.
Thanks to the great Twitter profile of our CTO Igor Krasnik (plz subscribe 🫡), we were noticed by the company that develops YOLO — Ultralytics! And they did not just say hello, but posted a whole article about our product and Paralect: YOLOvME: Solving the Parking Problem
YOLOv5 🫦
Somebody: “Hey, what should I use for Computer Vision? Ideally, it should be fast, cheap, and precise!”
Me:
YOLO stands for 'You only look once'. It is an open source object detection model with a GNU GPL license. YOLO does not require any specific infrastructure provider like AWS or Azure. The only thing one may need to use YOLO is Python. The current version requires Python >= 3.8. This approach is quite handy:
- One can switch between different infrastructure providers if needed
- It only needs Python installed to run locally
- One can self-host it if required by customer policies or for other reasons
- It has a GPL-3.0 license and can be used for any purpose
But everything has its price, so one will have to support the self-hosted environment on their own.
Training 🦾
To train the YOLO model one should complete the following steps:
1. Pick images 💿
Training quality will increase if more images are used. YOLO recommends using ≥1.5k images that have ≥10k objects.
2. Manually label those images 🏷
One can use any labelling tool (CVAT, makesense.ai or Labelbox). Once images are labelled one should get .txt files for each image with a list of coordinates for every object on the image.
Here's an example of making and exporting labels in makesense.ai — the folder with image labels is below.
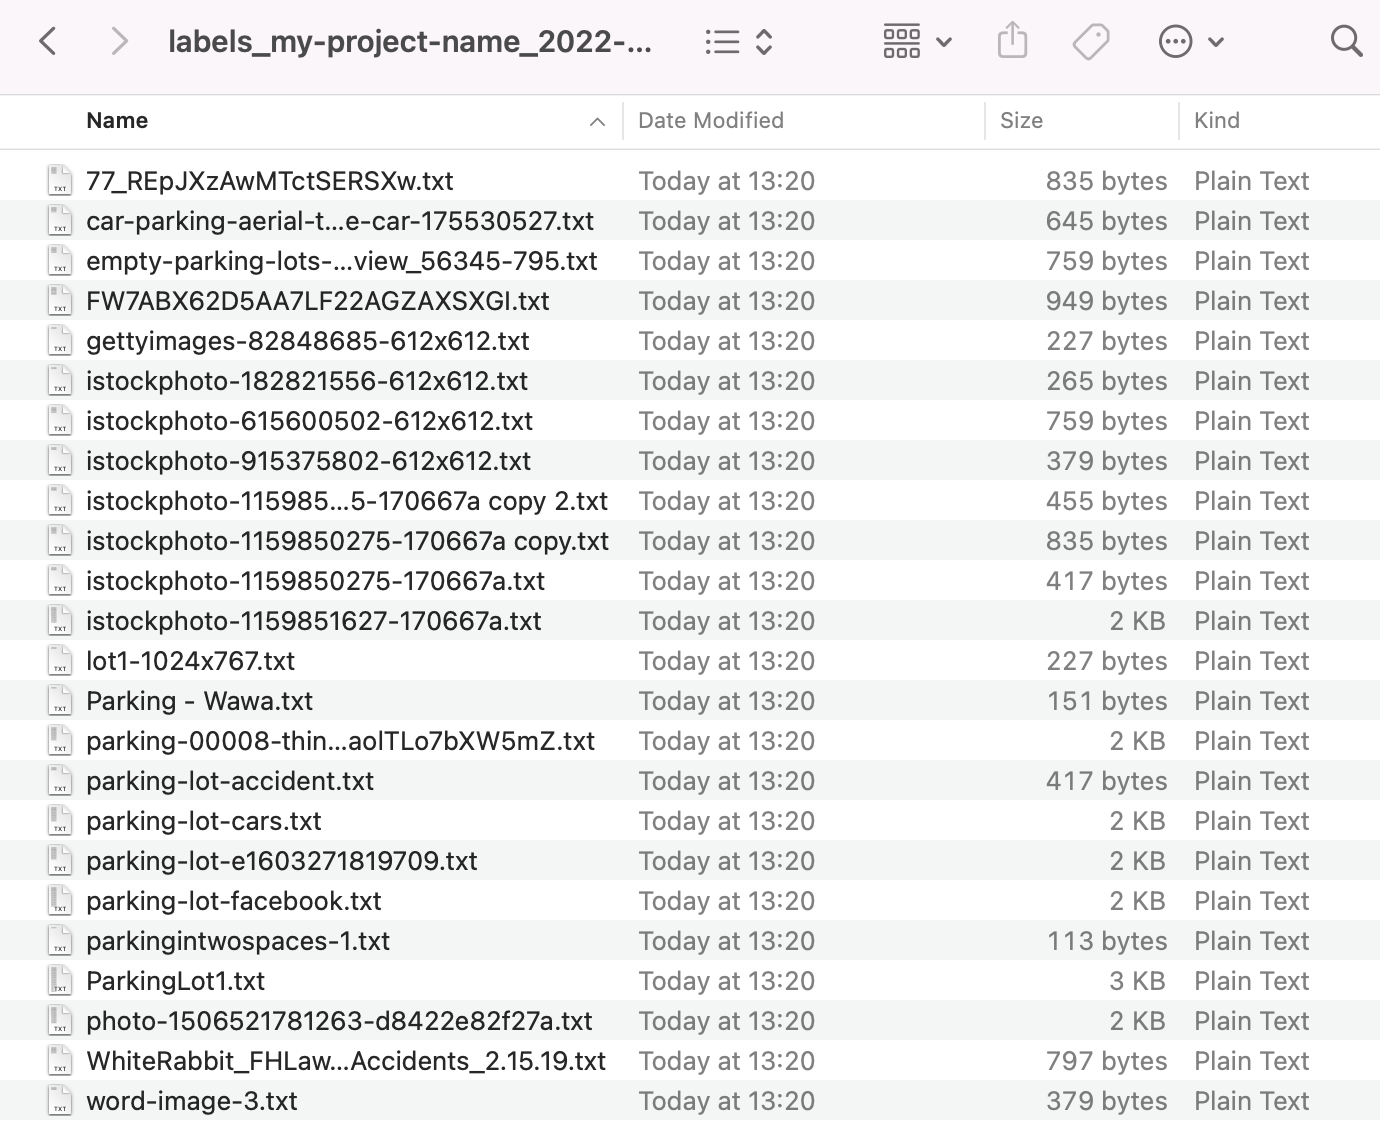
Make sure that labels match images. As a result, there will be 2 folders: ‘images’ and ‘labels’ that will have the same amount of files. Each .txt file in the labels folder will correspond to an image from the images folder and has the same name. For example, if there is the parking-lot.jpg file in the ‘images’ folder, the parking-lot.txt file should exist in the ‘labels’ folder as well.
3. Create dataset file 🗂
One should create a .yaml file which describes how to train the model. Here’s an example of a simple dataset file parking.yaml:
4. Run training 🏋️♂️
To train the model run:
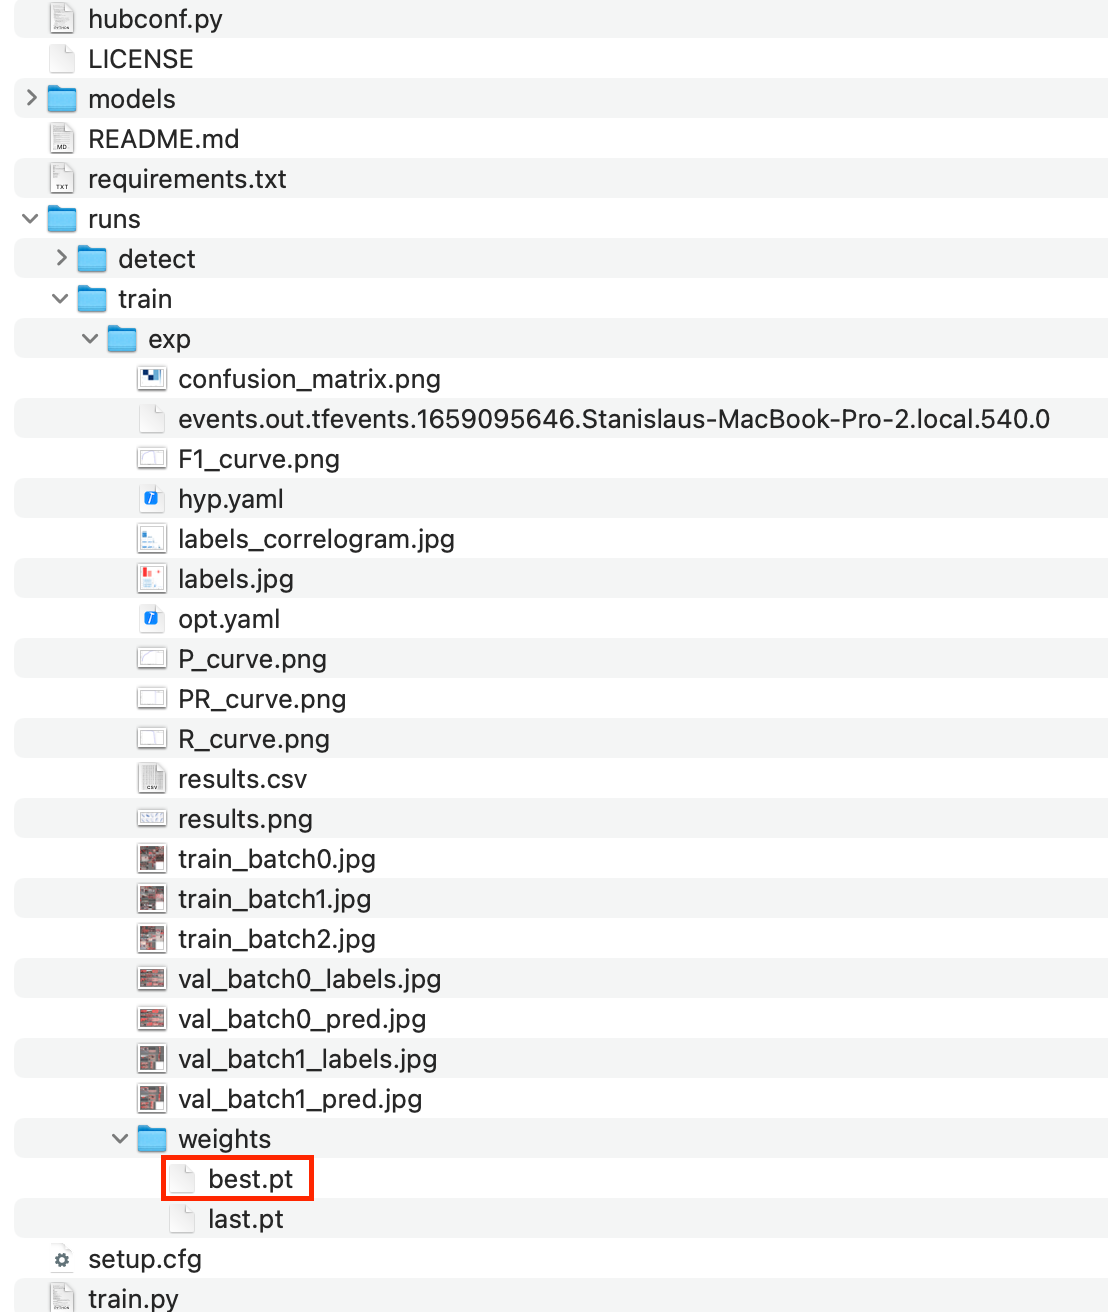
Depending on the number of images and epochs training time can be different. To speed up training time one can use a computer with GPU and OS which supports running PyTorch on GPU. One can find which platforms support GPU (CUDA) PyTorch here. The result of training is a .pt file with a trained model. It is located in runs/train/exp
A more detailed description of training process one can find in the great documentation by Ultralytics.
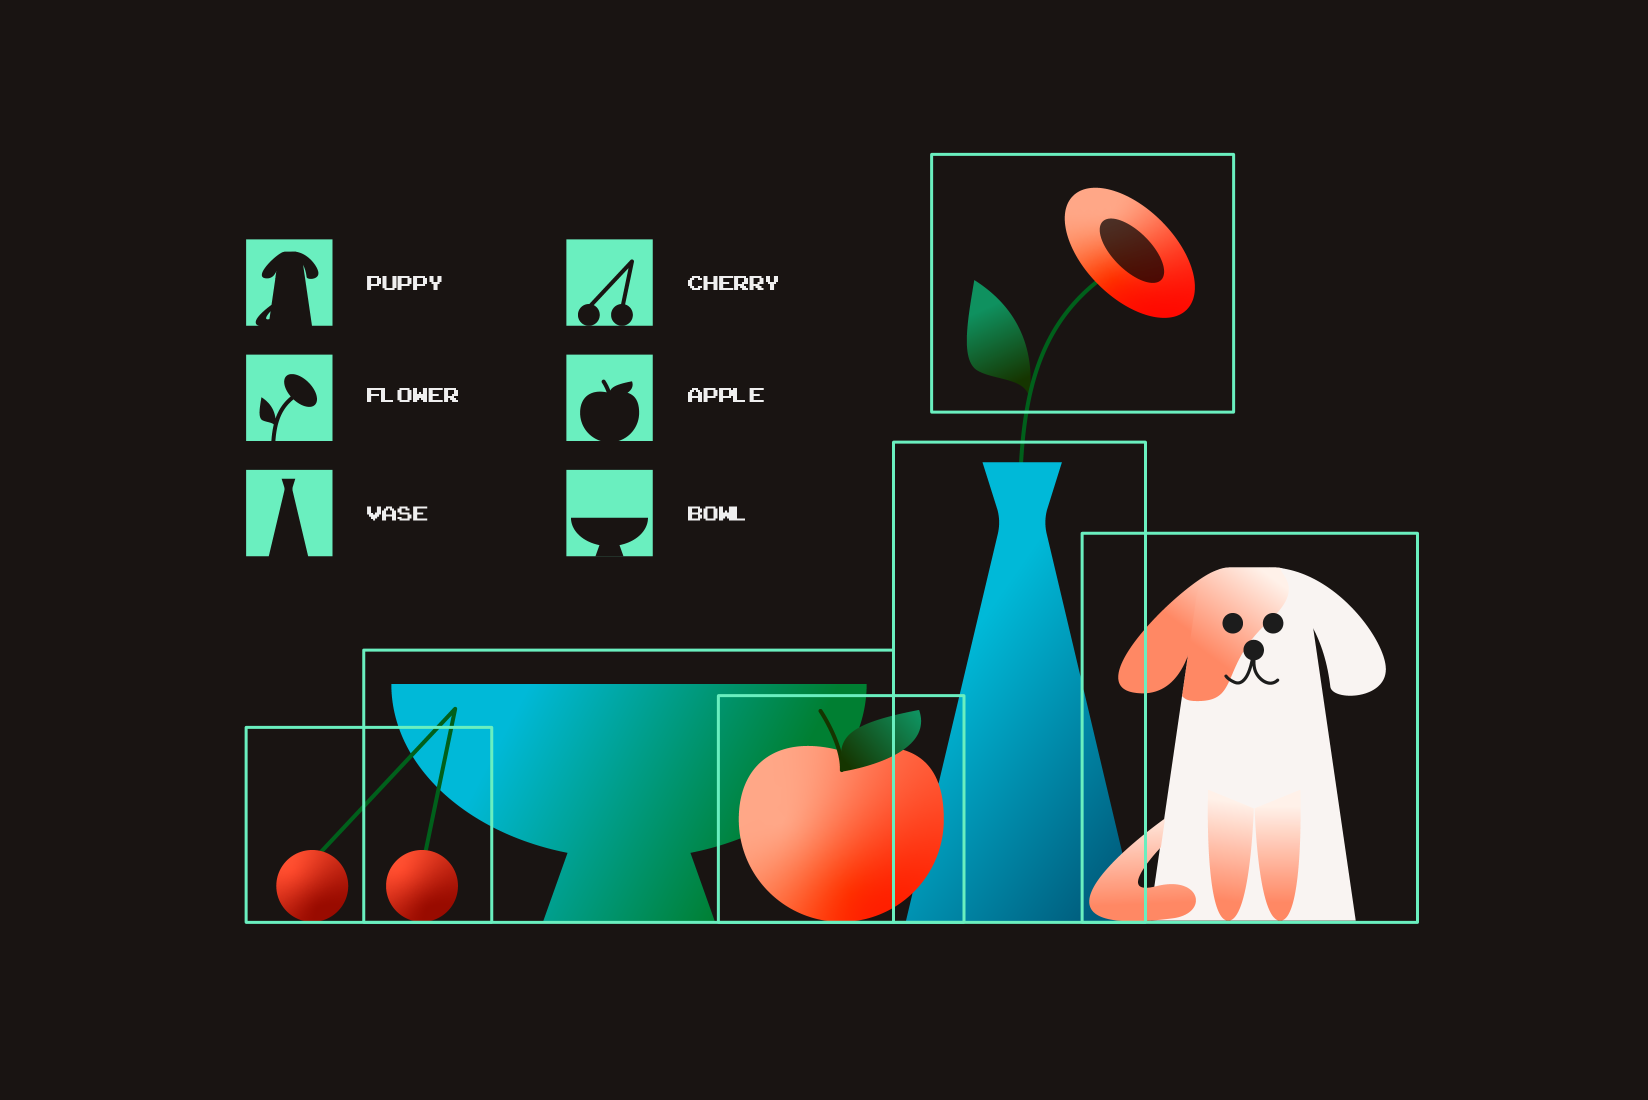
Detection 🕵️
Once the model is trained one can use it to detect objects on images (videos, cameras) by you simply running detect.py script:
Detection is the process of transforming an image into an array of objects. It’s a super simple operation (compared to learning) so that it can be run on the serverless provider, like the Azure function. The only issue here is that PyTorch dependency takes a lot of memory and can’t be installed during deployment. But it can be solved it by local build which one can upload to Azure.
Just add water one line to publish the script:
Detection works quite fast (~200ms if run in Azure function) so it can be run on any environment. But on the other hand, training requires a lot of computing power. 5k images on 300 epochs takes ~3 days to train on 4 xCPUs on Azure (~15$).
Here’s an example of detection from python code instead of CLI:
Objects will contain an array of found objects with the following fields: xcenter, ycenter, width, height, class, name.
👀 A picture is worth a thousand words, so you can see code in our repository!
Best practices of training 👨🍳
To make YOLO detect well, one should stick to some rules during model training:
- Images per class. ≥1.5k images per class
- Instances per class. ≥10k instances (labeled objects) per class total
- Image variety. It must be representative of the deployed environment. For real-world use cases we recommend images from different times of day, different seasons, different weather, different lighting, different angles, different sources (scraped online, collected locally, different cameras) etc.
- Label consistency. All instances of all classes in all images must be labeled. Partial labelling will not work.
- Label accuracy. Labels must closely enclose each object. No space should exist between an object and its bounding box. No objects should be missing a label.
- Background images. Background images are images with no objects that are added to a dataset to reduce False Positives (FP). We recommend about 0-10% background images to help reduce FPs.
More information about best practices can be found here.
At the first glance, it was too scary and crazy! Imagine, the words “epochs”, “weights” and “convolutional networks” was in a single sentence and make sense! But using Ultralytics documentation, it was like butter!” – Stanislau Tarazevich, Lead Software Engineer